
Paths and draw-on
A path is a line you drew: an underline, an arrow, a scribble around a word, a logo outline. What makes paths worth their own page is one animation — draw-on, where the stroke draws itself across the screen as if a hand were tracing it. This page covers drawing paths, styling their strokes, and the draw-on family.
Draw with the pen
Section titled “Draw with the pen”Pick the pen from the canvas toolbar (or press P) and click to place points:
- Click places a corner.
- Click and drag pulls out handles for a smooth curve.
- Click the first point to close the shape.
- Escape or Enter finishes an open line — an underline or an arrow doesn’t need to close.
The result is a path layer like any other: move it, scale it, animate it, and re-enter it later to adjust individual points.
Any shape can become a path
Section titled “Any shape can become a path”You don’t have to start from the pen. Select a rectangle, polygon, or star and start editing its points — drag one of its anchor points, or drag the dot on an edge’s midpoint to add a new point there — and Mixture converts the shape into an editable path on the spot. Animations already on the layer carry over; nothing re-times.
Two honest notes on the conversion: it’s one-way (duplicate the layer first if you want to keep the original shape), and a squircle’s smoothed corners fall back to plain rounded corners in the path version.
Style the stroke
Section titled “Style the stroke”The Stroke section in the properties panel is where a path gets its look:
- Colour — solid or a gradient.
- Width — stays uniform no matter how the layer is scaled.
- Style — solid, dashed, or dotted.
- Caps and joins — round, square, or flat ends; sharp or rounded corners.
- Width profile — taper the stroke toward its start, its end, or both, for calligraphic, hand-drawn lines.
One rule to know before anything animates: the draw-on effects work on the stroke. A path with a fill but no stroke has nothing to draw — set a stroke colour and width first.
Draw on, draw off
Section titled “Draw on, draw off”Draw On is an entrance for path layers: the stroke draws itself from the path’s start to its end. It’s in the Quick Animations grid whenever a stroked path is selected — one click, and the duration sets how long the trace takes. Draw Off is its exit twin: the stroke retracts, end to start.
Or describe it: select the path, press ⌘K, and type “draw on”.
Logo reveals
Section titled “Logo reveals”For a filled logo or lettering, the trick is to draw the outline first and fill it after:
- Set the path’s stroke colour to match its fill, width 2–4.
- Set the fill to transparent.
- Add the Draw On entrance.
- Animate the fill fading in just as the trace completes.
The logo traces itself on, then solidifies. It’s a two-step build, but it’s the classic for a reason.
Progress rings
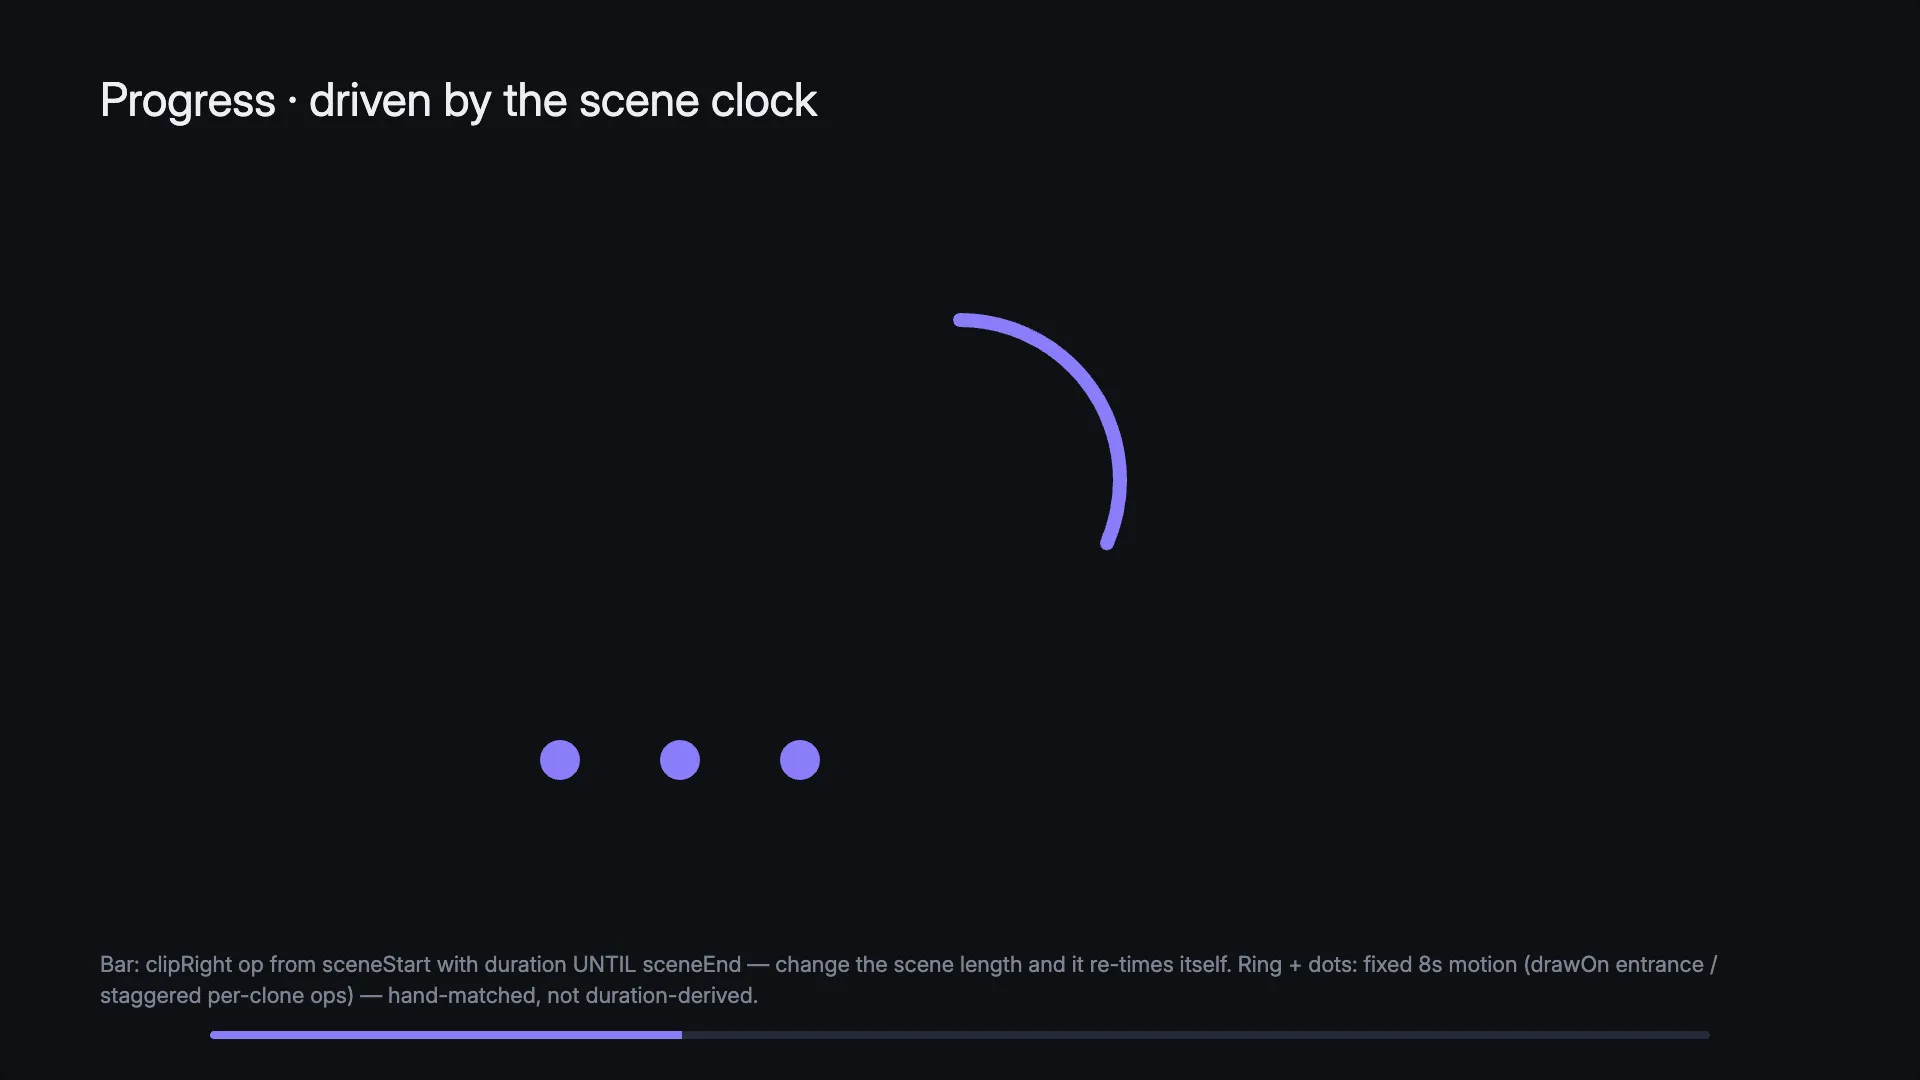
Section titled “Progress rings”A circle path with Draw On is a progress ring — the stroke sweeps around the dial. One thing to mind: an entrance’s duration is a plain number, so set it to match the scene length by hand if the ring should fill exactly as the scene ends. The progress patterns in the data guide cover the ring alongside bars and dots that re-time themselves automatically.
Custom rhythms with dash offset
Section titled “Custom rhythms with dash offset”Draw On is one smooth trace, start to finish. For anything fancier — draw halfway, pause, finish; draw on the beat; scrub the trace back and forth — animate the stroke’s dash offset yourself with keyframes, like any other property.
The setup: set the path’s dash length to the path’s total length (one dash that covers the whole stroke), then keyframe the offset from that length down to zero. The offset is the how-much-is-drawn dial — full length is nothing drawn, zero is fully drawn, and every value between is a position you can hold, ease, or reverse.
For the curious: a manual draw-on in the project JSON
strokeDasharray holds the dash length; a property animation drives
strokeDashoffset:
{ "kind": "property", "target": { "type": "layer", "layerId": "line" }, "property": "strokeDashoffset", "from": 600, "to": 0, "timing": { "start": { "type": "sceneStart" }, "duration": 2 }, "easing": "easeOut"}Here 600 is the path’s length, set as the layer’s strokeDasharray
first. Split the journey into several animations — 600 → 300, hold,
300 → 0 — and you’ve built a rhythm the preset can’t do. Anchor each step
to a beat and the line draws itself in
time with the music.